Fried Turkey How-to and AAR
24 November 2012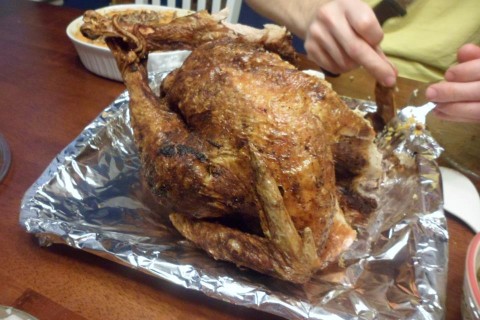 Fried turkey taste like bacon flavored turkey. No kidding, once you've tasted fried turkey, you'll probably never care to eat a baked turkey again. This
is my second year frying a turkey. Most of what I learned last year I forgot this year, and to make matters worse, I lost the instruction manual for my
turkey fryer. However, these notes and AARs will likely help me remember what I need to do to make a fried turkey for next year and improve on the process. I
decided to post so you (the reader) can have a consolidated fried turkey how to.
"T" time = Turkey Time: time you're planning on serving the turkey
Equipment needed:
- Fryer Equipment:
- Propane tank, full
- Fryer kit with thermometer
- Turkey frying stand (usually comes with the kit)
- Turkey lowering hook (usually comes with the kit)
- Matches (or long nose lighter)
- Safety Equipment:
- Pants, long sleeve shirt (ACU Top and jeans did alright)
- Eye pro
- Gloves or oven mitts for holding hot items (think barrel change)
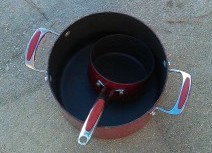
- Deep, large pot (for dumping excess oil)
- Smaller pot with handle (for removing excess oil)
- Class K fire extinguisher
- Supporting Equipment
- Pan to bring in the turkey (uncooked)
- Pan to bring out the turkey (cooked)
- Meat thermometer
- Turkey (no bigger than 15lbs)
- Spice Rub
- 25 bay leaves, crushed
- 3 1/2 teaspoons dried thyme
- 3 1/2 teaspoons dried oregano
- 1 1/2 teaspoons freshly ground pepper
- 2 teaspoons garlic powder
- 3 tablespoons Creole seasoning
- 1 tablespoon Salt
- 1 teaspoon garlic
- 3 Tablespoons minced onions
- Marinade
- Marinade injector
- 16oz jar of Creole butter
Countdown:
T-4 days: Get the turkey (no bigger than 15lbs)
(Sunday before Thanksgiving)Allow the turkey to defrost in the fridge for about 24 hours before taking it out of the package. Also ensure you have at least 4 gallons of peanut oil on hand (this stuff sells out the day of, so don't wait till the last minute).
Ensure you have a turkey fryer and full propane tank. Choose a good frying location outdoors, usually on a level concrete pad away from kids, pets, and stuff you don't want to light on fire.
T-3 days: Clean the bird
(Monday)Break out the turkey, place on a deep pan (or oven dish), and start pulling out all the stuff that comes with the turkey inside the cavity (the neck, liver, etc.) and place them to the side. If still frozen, use hot water to spray into the cavity to assist in the unfreezing. From the cavity opening, dig through to the neck so you can get at least one finger to pop out; you'll need a clear path from butt to neck to ram the turkey frying stand through. Rinse the bird off and dry thoroughly. Place back in the fridge on a drip proof pan (unless it's fully defrosted and you want to start spicing up).
T-24 to 48 hours: Spice, Marinade, and PCI the burner
(Tuesday or Wednesday)PCI the burner at least a day before by lighting the flame according to the manual (my manual is missing, so instructions on that are below).
Link to Burner Starting Procedures
Spicing up with the Spice Rub Directions: (Mostly from http://allrecipes.com/recipe/deep-fried-turkey-rub/) In a small bowl, mix together the bay leaves, thyme, oregano, pepper, garlic powder, onions and Creole seasoning. Using your bare hand, peel the skin from the meat without taking the skin off; you will be placing the majority of the spice rub between the meat and the skin (see for separating the skin and for spreading the rub). Save some of the rub for the exterior (or make a little bit more). Add about a tablespoon more of salt, rub in on the exterior of the skin.
Marinade: Using an injector, inject 1.5oz of creole butter marinade for each pound of turkey (check out the how-to inject Marinade). Don't be shy with the marinade; I used an entire 16oz jar on a 10lbs bird.
T-2 hours: Preheat the Fryer

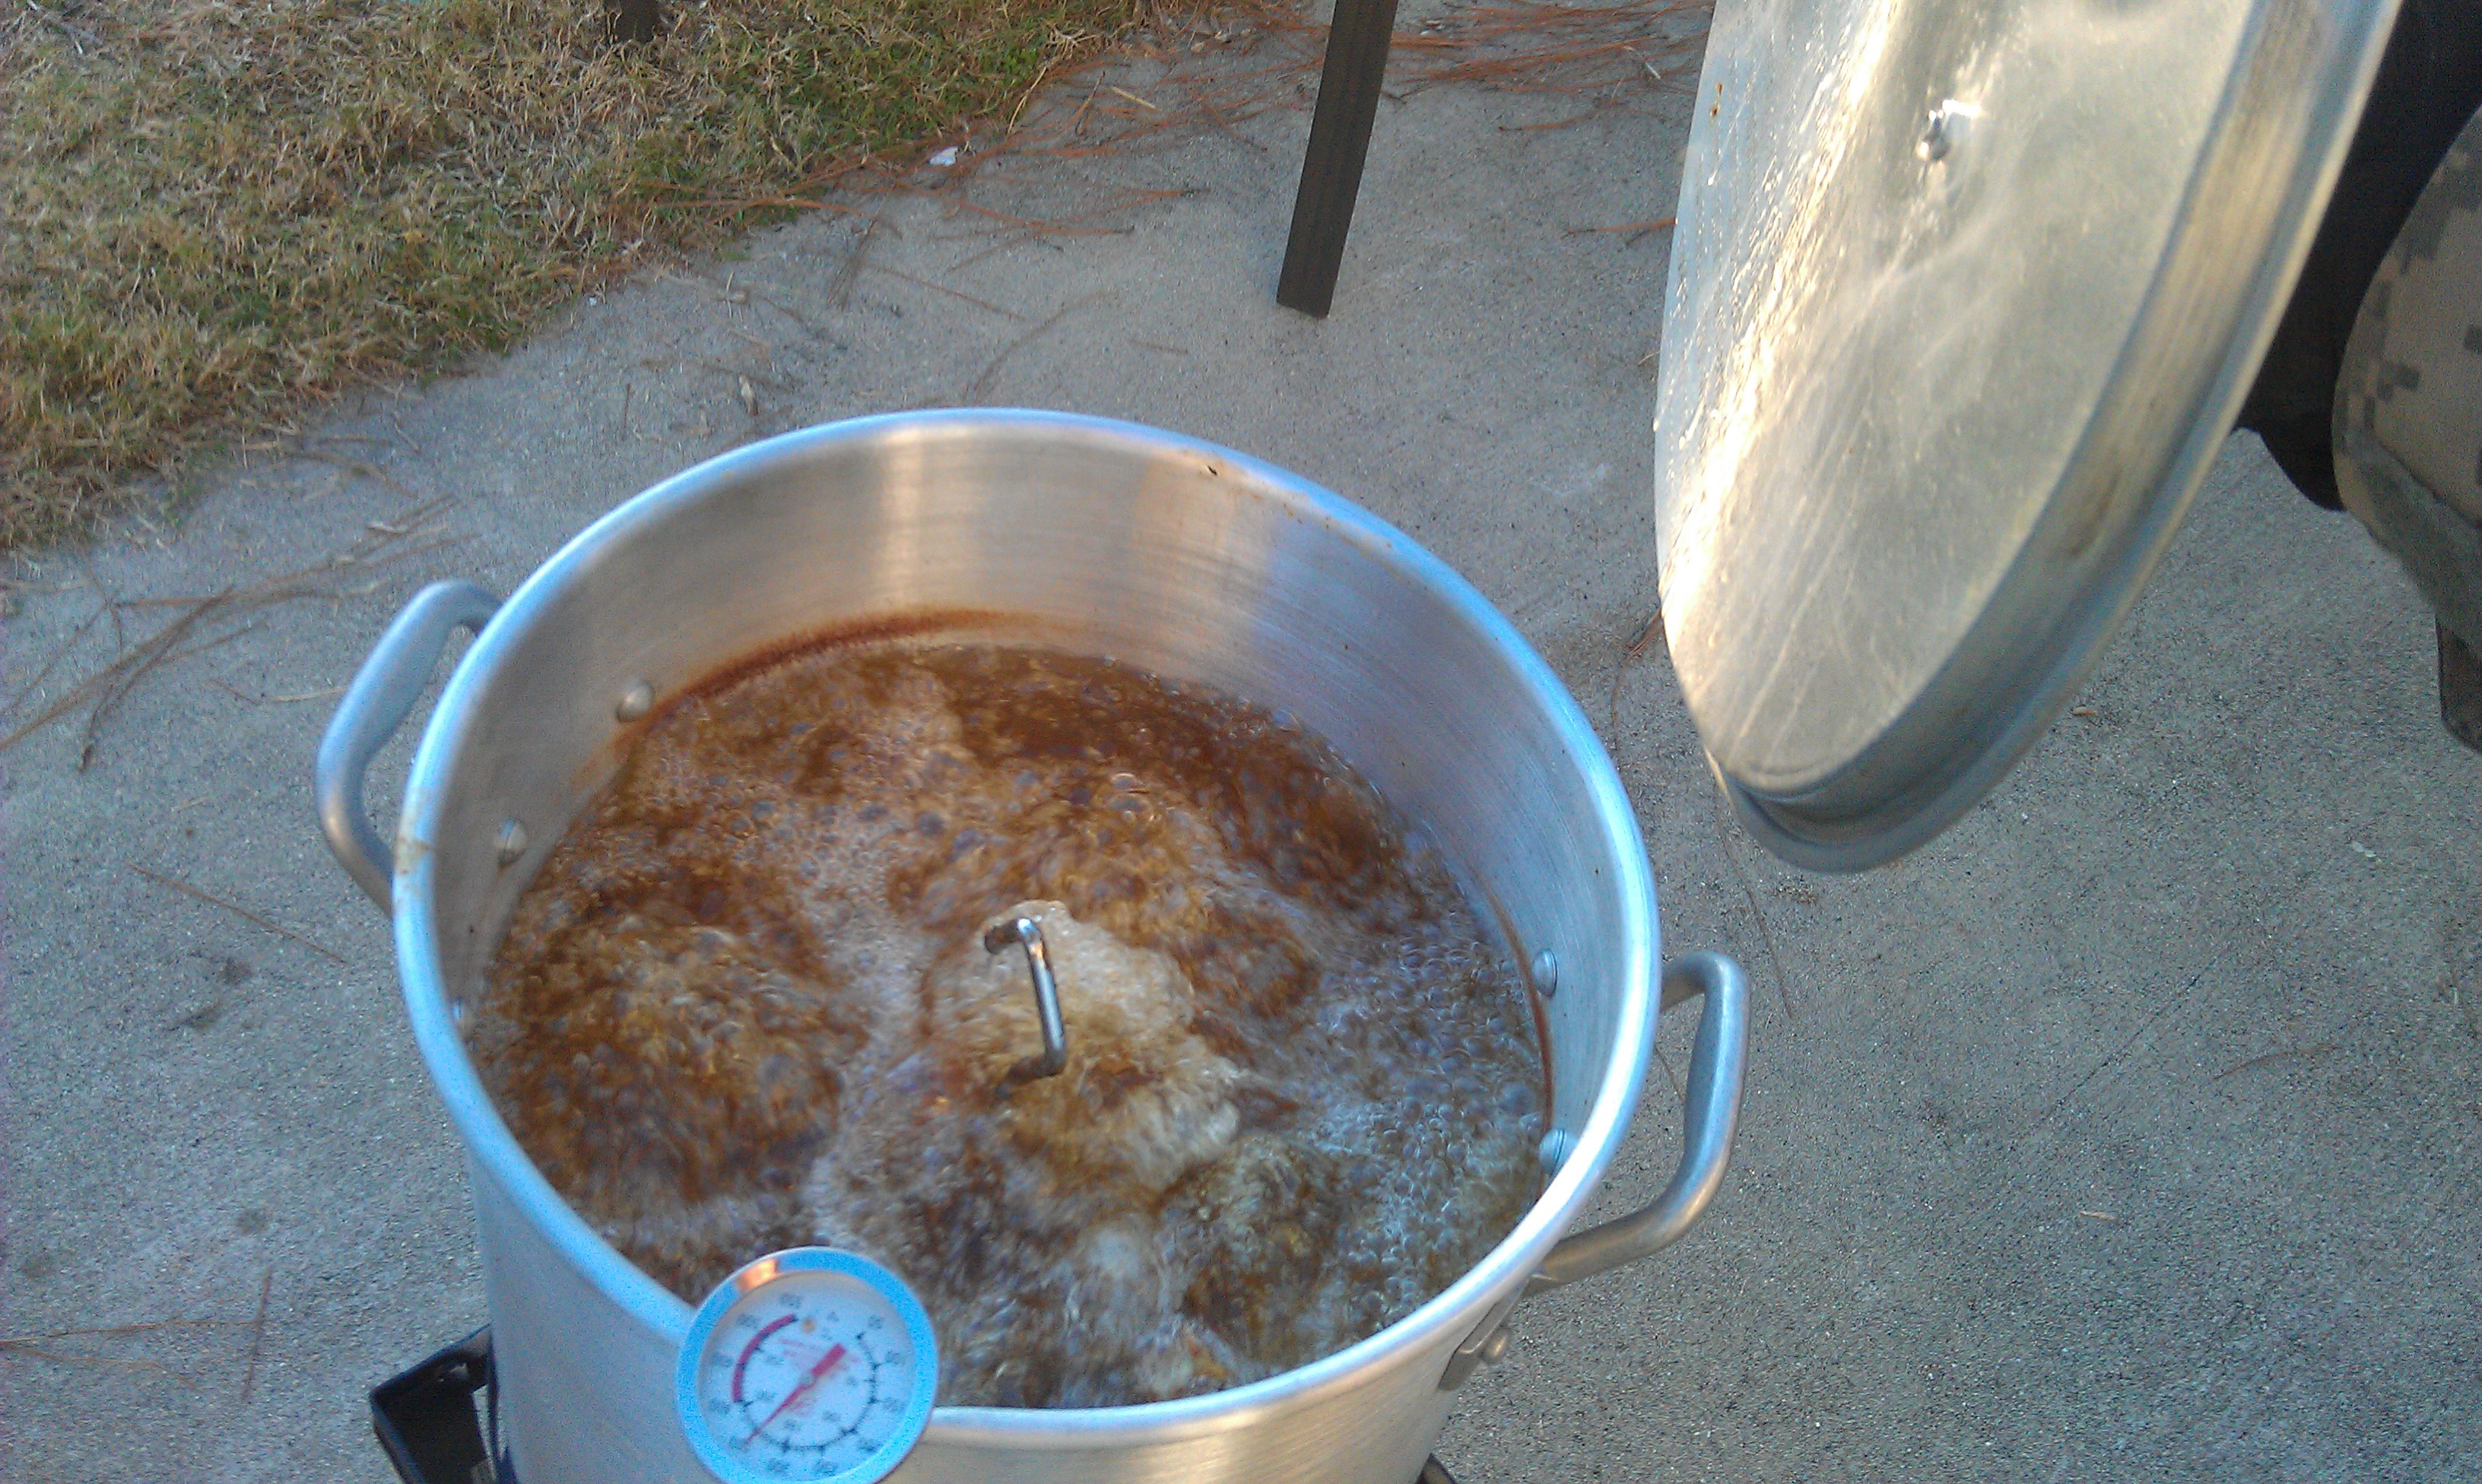
Fill the frying pot with oil, no higher than the fill line. I started with 3 gallons. Start the fire on the fryer . Carefully place the pot onto the fryer. Place the thermometer in the oil and clip it off to the side of the pot. Cover and let the oil get up to about 325-350 Degrees. The propane and fire should be on at full throttle; takes about 20-30 minutes to get to the proper temperature.
IF YOUR UNIT HAS A TIMER: set a timer to 14 minutes to remind you to wind back the timer every 14 minutes.
T-1 to 1 1/2 hours: Start Cooking
Get your safety gear on.
Start a chrono timer to time home long the turkey has been frying.
Get the turkey placed on the Turkey frying stand, neck first. Dip the turkey in slowly into the oil. The oil will be boiling pretty madly, but keep an eye on the mean level of the oil. It should barely cover the entire turkey. If it's not, add just enough oil to cover it. Keep in mind, this is dangerous and not recommended by the fryer manufacturer, so do it at your own risk, and add it slowly.
Bring the oil back up to 325 degrees, it will dip down when you add the turkey. Try to maintain at 325 by adjusting the propane throttle and the air throttle. Cook the bird 3 1/2 minutes for every pound of the birds weight. It took me about 45 minutes for a 10lbs bird.
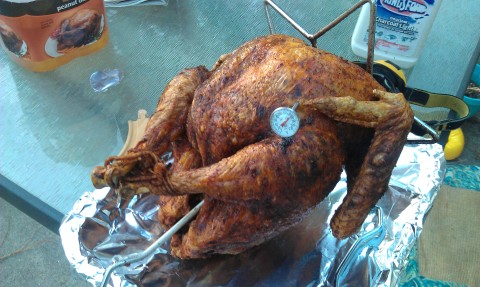
With safety gear on and meat thermometer at the ready, pull the turkey out and stick the thermometer in the thigh. It should be about 180 degrees. Then stick it in the breast. It should be about 160 degrees. If it's not, place it back in the oil slowly and use your best judgment in cooking it till it is (usually let it cook for 5 minutes, take it out and temp check again). Place it on the serving platter, turn off the propane flow to the burner, take out the Turkey frying stand and get ready to serve.
T+24: Clean up
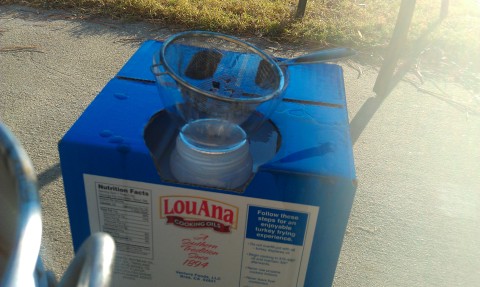
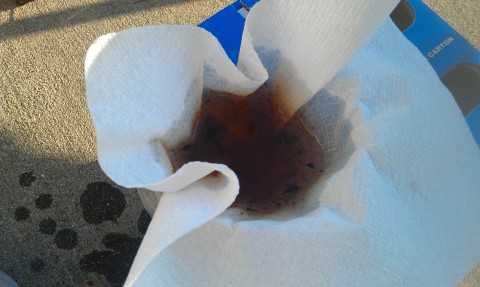 I gave the oil about 24 hours to cool before recovery (mainly because I didn't feel like recovering the stuff later on that Thanksgiving night). The oil
is still good and can be used (I'm told) for Christmas to fry another turkey. At $30-40 for 3 gallons, that's a nice to know (I'll update this blog when we make one this Christmas and make note whether or not we got botchalism). Not sure if it's going to keep till the next year. But, trick now is getting it
from the pot to the bottle it came in while straining out all the debris.
Use a funnel with a wide funnel end (or cut a 1 little coke bottle's spout end off), and a small strainer over top. Slowly pour the oil from the pot through the strainer and the funnel and into the bottle the oil came out of. When you get to the bottom of the pot, stop and exchange the strainer with either cheese cloth, a coffee filter or a single sheet of a sturdy paper towel (NOT SKILLCRAFT!). Slowly pour the oil into the funnel with the filter on top and allow it to take it's time draining. It should strain out all the small debris that end up at the bottom of the pot, but this part takes some patience. When done, cap up and store the oil.
Clean the pot with dish washing liquid in the bath tub (or a large sink if you are so fortunate) and get it ready for storage as well.
Emergency procedures
Fire goes out: With safety gear on, remove the pot from the burner, place it on the concrete, and light the burner back up placing the pot back on afterwards.
Oil starts boiling over: Turn off the propane flow to the burner, killing the fire. Using the small pot with safety gear on, scoop some of the oil out and place in the deep pot off to the side. Using a shop towel, wipe off the excess oil (make sure not to burn yourself). Get the burner started back up and pot back up to cooking.
FIRE!: Turn off the propane flow to the burner, use the fire extinguisher to put out the flame.
Starting the burner
Using the Bass Pro Shops 30-Quart Propane Turkey Fryer (38-614-991-97)
- Hook the hose to the propane tank. Light a match and place it on the edge of the burner while still burning.
- Open the propane tank valve and the red hose valve to full throttle.
- Ensure that the burner's air intake valve is fully open.
- Crank the timer clock wise till it doesn't turn any more.
- With the match still burning, press and hold the burner gas button till you hear or see that the burner has been lit. You might not see the flame initially, but it will sound like a small jet engine. When you release the button, that jet engine sound (and the flame) should still be going. It has a flame sensor that will stop the propane flow automatically if it is not and you'll have to try again. It should also be hot, obviously.
AAR:
- Instead of matches, try a long nosed lighter next time. It may allow the elimination of removing the pot to start the fire back up and be more reliable then the matches when initially starting the fire.
- Get thicker gloves. They worked for when I had to remove the pot during fire out procedures, but they wouldn't have lasted long if I had to hold it for a little while longer.
- Don't use a foil pan for the uncooked bird. When defrosting in the fridge, the foil pan leaked all over the fridge and made a mess. Use something solid that won't leak.
- Ensure that you have about 2-3 hours of sun light left when starting to cook the bird, so you can see what you're doing when you're trying to see if the bird is fully cooked.
- The first year I cooked the bird, I had chopped onions in the bird cavity. The onions exploded out the rear and circulated through the oil the entire time. The bird tasted good, but on oil recovery, the onions just made an unholy mess. Second year, I just used chopped, dried onions in the rub mix and omitted the one in the cavity. It made for cleaner oil in the end with no hurt on the taste.
Additional remarks:
Stuffing: I found out that you cannot fry the turkey with stuffing in it. It will obstruct the flow of hot oil and not cook your turkey evenly at worst, explode out the butt like a turkey with the Taco Bell shits and mess up your oil at best.


